This guide will walk you through setting up AWS IAM authentication on your RDS Database, setup attribute based access control on your Identity Center roles. Then connect to that database using IAM with CLI and DataGrip clients.
RDS Database Setup
First, before we begin we must have IAM Authentication enabled on our RDS database. It can be checked by substituting the database name in this command.
export DATABASE_INSTANCE=<YOUR_RDS_DATABASE>

aws rds describe-db-instances \
    --db-instance-identifier $DATABASE_INSTANCE \
    --query 'DBInstances[].IAMDatabaseAuthenticationEnabled'
If its disabled run this command to enable it
aws rds modify-db-instance \
    --db-instance-identifier $DATABASE_INSTANCE \
    --apply-immediately \
    --enable-iam-database-authentication
User Creation
Once thats enabled we need to create a database user (or role) that is configured for IAM authentication.
Keep in mine that the username should correspond to a primary identity attribute for the connecting user. This could be an email or username, but groups/departments should be avoided since individual member actions cannot be tracked (non-repudiation)
MySQL
|
|
PostgreSQL
|
|
Identity Center
To map AWS Identity Center attributes into permission policies we need to setup attribute based access control (ABAC). I’m doing it through Terraform (#IaC4tW), but this can be done through the console.
IAM Identity Center → Settings → Attributes for access control → Manage Attributes
|
|
There are other IdP attributes that can be found here
Policy
How that the attribute is mapped lets create the policy that we can assign our Identity Center permission set.
I’m doing this again through Terraform which does the following things
- Queries to retrieve the RDS database information
- Creates a policy that grants RDS connect access to only the specified database and as the user (their username)
- The special sauce in the policy is the argument
${aws:PrincipalTag/username}which links to the attribute we setup in identity center
- The special sauce in the policy is the argument
- The policy is attached to an existing group
|
|
Usage
First, the RDS certificates needs to be downloaded or a specific region certificate can be downloaded here.
mkdir $HOME/.aws/rds/

curl https://truststore.pki.rds.amazonaws.com/global/global-bundle.pem > $HOME/.aws/rds/global-bundle.pem
CLI
export DATABASE_INSTANCE=<YOUR_RDS_DATABASE_ENDPOINT>
export PORT=<YOUR_RDS_DATABASE_PORT>

export TOKEN="$(aws rds generate-db-auth-token \
   --hostname $DATABASE_INSTANCE \
   --port $PORT \
   --region us-east-1 \
   --username jane_doe)"
MySQL
mysql --host=$DATABASE_INSTANCE \
      --port=$PORT \
      --ssl-ca=$HOME/.aws/rds/global-bundle.pem \
      --enable-cleartext-plugin \
      --user=jane_doe \
      --password=$TOKEN
PostgreSQL
PGPASSWORD=$TOKEN psql -h $DATABASE_INSTANCE -p $PORT \
    --username jane_doe \
    --dbname postgres \
    --set=sslmode=verify-full \
    --set=sslrootcert=$HOME/.aws/rds/global-bundle.pem
DataGrip
There are only a few UI database clients that support built in AWS IAM authentication and as a bonus it can do multiple DB types (mysql/postgresql)
If you don’t have DataGrip installed yet you can download it with brew or from the official website.
brew install --cask datagrip
By default DataGrip does not support IAM authentication, so we need to install the AWS plugin.
Click on the gear in the top right → Plugins → Marketplace → Search for AWS Toolkit → Install
Once its been installed restart DataGrip
Database Setup
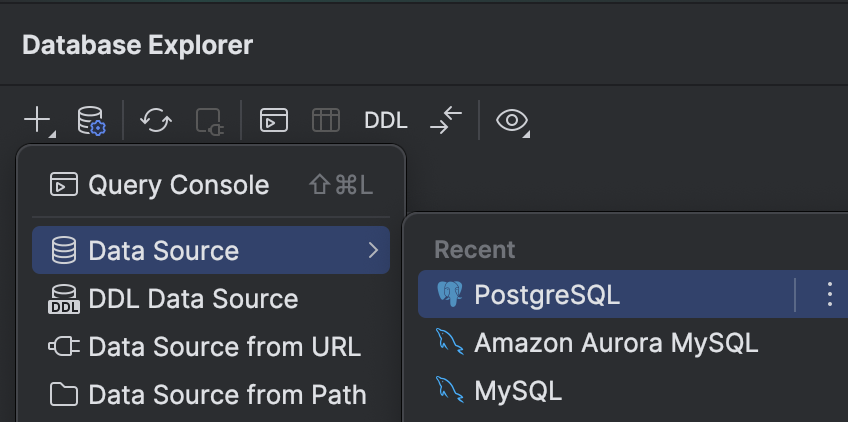
Select “AWS IAM” for the authentication method

Fill in the rest of the information:
- Name: The friendly DB name
- Host: The domain of the database
- Port: Database port
- User: The primary identity (The AWS Identity Center attribute)
- Credential profile: Corresponding profile to the permission set
- Region: AWS RDS region
- Database: Database to connect to
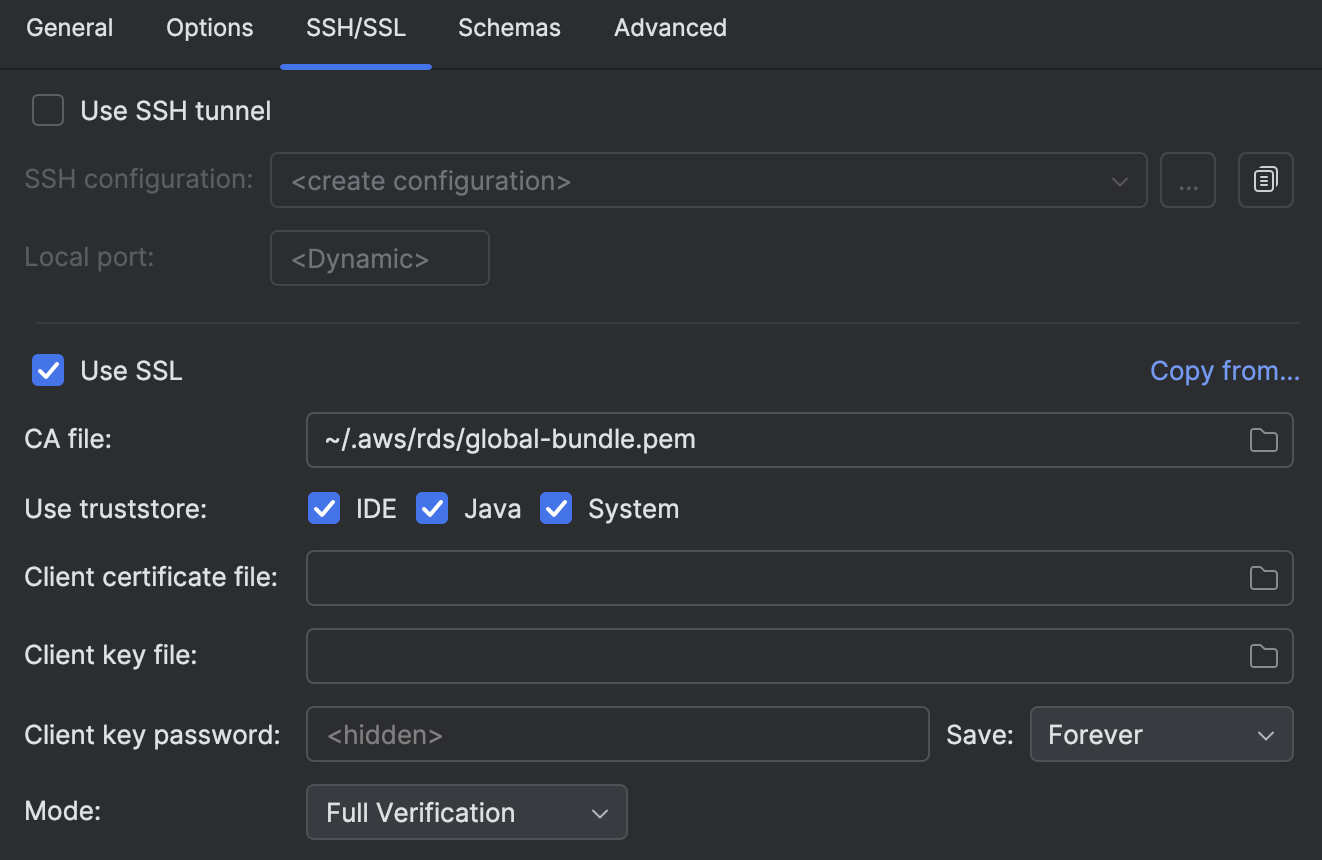
Switch to the SSH/SSL:
- put in the following path for the CA file
~/.aws/rds/global-bundle.pem - Switch the mode to
Full verification
Additional setup documentation can be found here
TablePlus
TablePlus is another one of the databases the supports AWS IAM Authentication in a roundabout manner.
It can be installed using Brew or downloaded directly from the website.
brew install --cask tableplus
Setup a new database and fill out the following information.
- Name
- Host
- Port
- Database
Click on the button to the right of the password field and select “Command Line”

Then for the password put in the following AWS command that generates the connection token.
Replace the following arguments in the command:
- RDS Endpoint
- RDS Port
- AWS Region
- Username
- AWS Profile
aws rds generate-db-auth-token --hostname <YOUR_RDS_DATABASE_ENDPOINT> --port <YOUR_RDS_DATABASE_PORT> --region us-east-1 --username jane_doe --profile <DATABASE_PROFILE>
Finally, for SSL Mode choose “Verify CA” and import the CA certificate from where we downloaded it earlier $HOME/.aws/rds/global-bundle.pem

Now test the connection to make sure everything worked.